If you’ve ever marveled at a beautiful bead loom bracelet and wondered how to make one yourself, you’ve come to the right place. In this DIY guide, we will walk you through the process of creating stunning loom bead patterns. Whether you’re a beginner or have some experience with bead weaving techniques, this step-by-step tutorial will help you unleash your creativity and add a handmade touch to your jewelry collection. From choosing the right materials to completing the finishing touches, we’ve got you covered.
**Key Takeaways**
– Learn how to make loom bead patterns with this easy-to-follow DIY guide.
– Discover bead weaving techniques and create unique jewelry pieces.
– Find step-by-step tutorials and free bead loom patterns for inspiration.
– Customize your designs and explore alternative materials for added creativity.
– Enjoy the satisfaction of crafting your own handmade bead loom patterns.
Now that you’re familiar with the introduction of our upcoming article on crafting loom bead patterns, stay tuned for the detailed sections that will guide you through this exciting DIY process.
What is a Bead Loom?
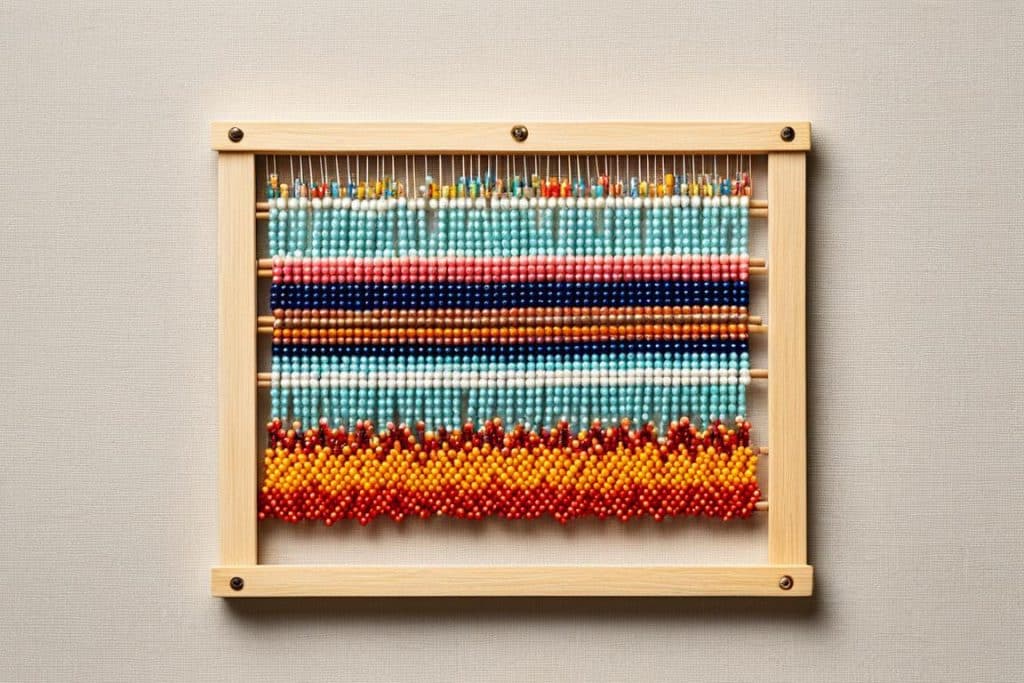
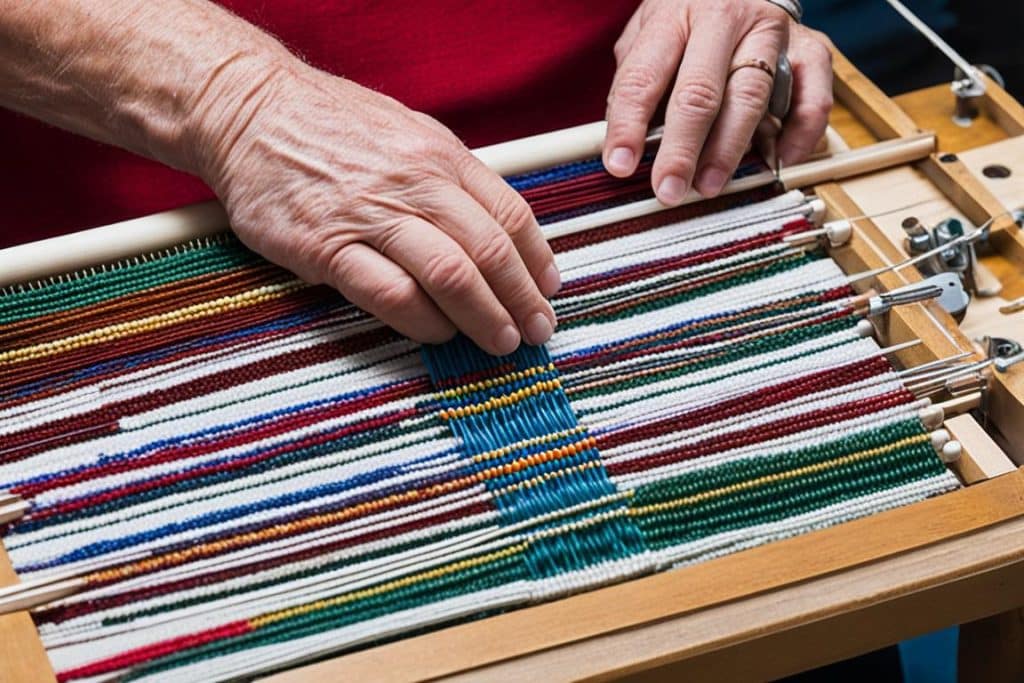
A bead loom is a tool used in the art of bead weaving to connect beads together by weaving them. Similar to a regular weaving loom, a bead loom consists of strings strung across it, acting as the warp threads. The weft threads, which hold the beads, are then woven over and under the warp threads to create intricate patterns and designs.
Using a bead loom allows for precise placement of beads, giving you the freedom to create beautiful bead loom bracelets and other beaded accessories. This technique is particularly popular in jewelry making, especially when working with seed beads.

A bead loom is like a canvas for bead weaving, providing a structured framework to transform loose beads into stunning pieces of wearable art.
With a bead loom, you can create intricate patterns and designs, incorporating different colors and bead sizes to achieve unique and personalized results. Whether you are a beginner or an experienced bead weaver, a bead loom is an essential tool in your jewelry making arsenal.
Materials Needed for Loom Bead Patterns
To create your own loom bead patterns, you’ll need a few essential materials. These include:
- Bead loom bracelet patterns (which you can download for free)
- A bead loom
- A beading needle
- Thread
- Glue
- Slider clasps
- Jump rings
- Lobster clasps
- A variety of seed beads in different colors and sizes
The specific materials and amounts needed will depend on the pattern you choose to follow. It’s important to have everything ready before you start to ensure a smooth beading process. Remember to have fun with your bead selections to create unique and personalized designs.

“Creating your own bead loom patterns is a fun and rewarding experience. With a little preparation and the right materials, you’ll be well on your way to crafting stunning bead loom creations.”
Setting Up the Bead Loom
Before you begin weaving your bead loom patterns, it’s important to set up your bead loom correctly. Follow these steps to ensure a successful and enjoyable beading experience.
- Prepare the warp threads: Attach the warp threads to the bead loom using a double knot or loop knot. The number of warp threads will depend on the width of your desired bracelet or project. Make sure to leave a bit of extra length for tying off later.
- Stretch the warp threads: Once the warp threads are attached, stretch them across the loom, ensuring they are tight and evenly spaced. This will provide a stable foundation for your bead weaving.
- Secure the warp threads: To keep the warp threads in place, you can tape or clamp the ends of the threads to the sides of the loom, or tie them around the loom’s pegs, if available.
With the loom properly set up, you’re now ready to start weaving the weft threads, which hold the beads, over and under the warp threads. This will create the base for your bead loom patterns. Refer to the bead loom pattern you’ve chosen for the specific threading instructions.

“Setting up my bead loom was easier than I expected. The instructions were clear, and I was able to secure the warp threads tightly. I’m excited to start weaving my bead loom pattern!” – Lisa, bead weaving enthusiast
Weaving the Beads
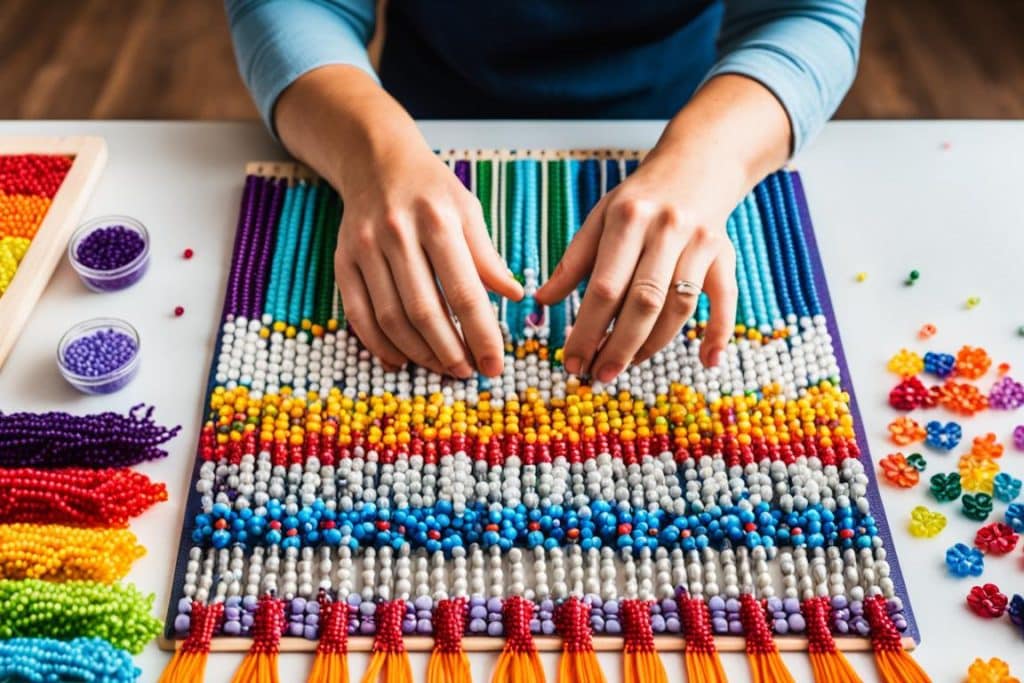
Now that your bead loom is properly set up, it’s time to start weaving the beads and bringing your bead loom pattern to life. Follow these steps to create stunning beadwork:
- Thread your beading needle with a length of thread, leaving a tail for tying off later.
- Refer to your chosen bead loom pattern for specific bead colors and placement.
- Begin at one end of the pattern and string the beads onto the thread.
- Bring the beads under the warp threads and push them up through the spaces between the threads.
- Use the needle to go back through the beads, ensuring it goes over the thread to secure them in place.
- Continue weaving the beads, following the pattern, until your bracelet or project is long enough.
Remember to take your time and enjoy the process of bead weaving. The rhythmic motion of weaving the beads can be relaxing and therapeutic. As you weave, you’ll see your bead loom pattern come to life, with intricate designs and vibrant colors.
If you’re unsure about certain beading techniques or need inspiration for bead loom patterns, consider joining online communities or watching tutorial videos. These resources can provide valuable tips and ideas to enhance your bead weaving skills.
Continue weaving each row of beads, repeating the process until you’ve reached the desired length for your bead loom pattern. Experiment with different color combinations and bead arrangements to create unique designs that showcase your personal style.
“Bead weaving is a versatile technique that allows you to create intricate patterns with seed beads. With a little practice and creativity, you can design stunning jewelry pieces!” – Bead Loom Enthusiast
As you weave, make sure to maintain even tension on your threads to create a neat and professional-looking result. Take breaks when needed to prevent eye strain and give your hands a rest. Bead weaving is a craft that rewards patience and attention to detail.
When you’re finished weaving the beads, you can move on to tying off and finishing your bead loom pattern, which will be covered in the next section.
Tying Off and Finishing the Bead Loom Pattern
When your bead loom pattern is complete, it’s time to tie off and finish the project. Follow these steps to ensure a secure and polished finish:
- Tying off the threads: To secure the threads, weave the excess back and forth between the previous rows of beads. This helps to anchor the threads in place.
- Snipping off the excess thread: Once the threads feel secure, bring the needle back up between one of the rows, and carefully snip off the excess thread using sharp scissors. Repeat the process to tie off any additional threads.
- Securing the beads: To ensure that the beads stay in place, apply some strong glue to all of the knots. This will help to secure them and prevent any unraveling.
- Cutting off the excess thread: After the glue has dried, carefully cut off any remaining excess thread, being mindful not to cut through the knots or disturb the placement of the beads.
Your bead loom pattern is now complete and ready to be worn or gifted! The secure knots and glue ensure that your project will withstand everyday wear and maintain its beautiful appearance.
Customizing Your Loom Bead Patterns
While following bead loom patterns is a great way to get started, don’t be afraid to customize and add your own variations to make your bead loom patterns unique. Let your creativity flow and explore the endless possibilities of bead loom customization.
Customization Tips:
- Experiment with different color combinations to create distinctive designs that reflect your personal style.
- Add variations in bead sizes to create texture and depth in your patterns.
- Explore different patterns or modify existing ones to give your bead loom creations a fresh and unique look.
Remember, customization is all about making your bead loom patterns reflect your individuality and creativity. Don’t be afraid to think outside the box and try new ideas.
“Customization is the key to making your bead loom patterns stand out from the crowd. Adding your personal touch through color, size, and pattern variations will make your creations truly unique.”
Not only can you customize your bead selections and patterns, but you can also incorporate alternative materials to add a touch of uniqueness to your creations. Consider using materials such as leather or suede for added texture and visual interest. These alternative materials can bring a fresh and unexpected twist to your bead loom designs.
Customizing your loom bead patterns allows you to express your artistic vision and create one-of-a-kind pieces that speak to your individual style. So let your imagination run wild, experiment with different customization techniques, and enjoy the process of creating truly unique bead loom patterns.
Tips and Tricks for Loom Beading
Loom beading can be a precise and intricate process, but with a few tips and tricks, you can make it easier and more enjoyable.
- Keep your threads tight and secure on the loom: To prevent any sagging or unevenness in your beadwork, make sure to keep your threads taut and secure on the loom. This will ensure that your beadwork maintains its shape and structure throughout the weaving process.
- Use a beading needle that is long enough: When choosing a beading needle, make sure it is long enough to pass through the width of your warp threads. This will allow for seamless weaving and minimize the risk of snagging or tangling the threads.
- Take your time and be patient: Threading the needle and weaving the beads can require precision and patience. Take your time to ensure accurate placement of each bead and maintain a steady hand throughout the process. Remember, practice makes perfect, so don’t be discouraged if your first attempts don’t turn out exactly as you imagined.
Remember, loom beading is a skill that improves with practice. Don’t be afraid to experiment and learn from your mistakes. Each beadwork you create is a unique reflection of your creativity and craftsmanship.
By following these tips and tricks, you’ll be on your way to mastering bead weaving techniques and creating stunning loom bead patterns. So grab your bead loom, threads, and beads, and let your imagination run wild!
Exploring Different Bead Loom Techniques
While bead loom patterns are a popular choice for creating beautiful beadwork, there are other techniques to explore in the world of bead weaving. One such technique is off-loom bead weaving, which involves using different stitches to create intricate designs without the use of a loom. This opens up a whole new realm of possibilities for creating unique jewelry pieces. By mastering stitches such as peyote stitch, brick stitch, and herringbone stitch, you can add variety and depth to your bead weaving repertoire.
One advantage of off-loom bead weaving is that it allows for more creative freedom. Unlike bead loom patterns, which typically follow a specific design, off-loom techniques give you the flexibility to create your own patterns and experiment with different colors, textures, and shapes. This allows you to unleash your creativity and personalize your jewelry-making projects.
Exploring Different Stitches
When it comes to off-loom bead weaving, there is a wide range of stitches to choose from. Each stitch has its own unique look and characteristics, offering endless possibilities for creating stunning jewelry pieces.
- Peyote Stitch: Peyote stitch is a popular choice for off-loom bead weaving. This stitch creates a smooth, flat surface and can be used to create intricate designs and patterns.
- Brick Stitch: Brick stitch is another versatile stitch that is commonly used in bead weaving. It creates a stacked brick-like appearance and is great for creating geometric designs.
- Herringbone Stitch: Herringbone stitch, also known as Ndebele stitch, creates a beautiful, textured effect. This stitch is often used to create ropes and straps for necklaces and bracelets.
These are just a few examples of the many stitches you can explore in off-loom bead weaving. Each stitch offers its own unique style and can be combined to create intricate designs and textures.
Off-loom bead weaving opens up a whole new world of possibilities for creating unique and personalized jewelry pieces. By exploring different stitches and techniques, you can expand your skills and create stunning beadwork that stands out from the crowd.
Bead Loom Resources and Inspiration
If you’re looking for more bead loom patterns and project tutorials to inspire your creativity, there are plenty of resources available. Many websites offer free bead loom patterns that you can download and print to get started. You can also find instructional videos that walk you through the process of using a bead loom and finishing off your projects. In addition, there are various bead looming supplies and kits available for purchase, which include everything you need to get started on your bead weaving journey.
Conclusion
Creating bead loom patterns is an exciting and fulfilling journey that allows you to showcase your personal style and craft unique, handcrafted jewelry pieces. Whether you’re a novice or have previous experience in bead weaving, this comprehensive DIY guide has equipped you with the essential steps and tips to kickstart your bead loom adventure. With a wide array of bead loom patterns, techniques, and materials available, the possibilities for creativity are endless.
By gathering your materials, selecting a captivating bead loom pattern, and allowing your imagination to take the lead, you can embark on a thrilling jewelry-making experience. Let each carefully woven thread and bead be a reflection of your artistry and passion for the craft. As you create intricate designs and experiment with various colors, sizes, and textures, you will witness your jewelry collection transform into a gallery of statement pieces.
As you delve into the world of bead weaving and jewelry making, remember that practice makes perfect. Embrace the journey, learn from your experiences, and don’t be discouraged by initial obstacles. With each project, your skills will evolve, paving the way for even more intricate creations. Whether you’re fashioning a bead loom bracelet or a stunning necklace, the art of bead weaving is a testament to your creativity and dedication.
So, embark on this delightful adventure of bead weaving and discover the joy of bringing beautiful bead loom patterns to life. Express your unique style, create stunning accessories, and leave a lasting impression with your handcrafted jewelry. Happy beading!
FAQ
How do I make loom bead patterns?
To make loom bead patterns, you will need a bead loom, beading needle, thread, glue, slider clasps, jump rings, lobster clasps, and a variety of seed beads in different colors and sizes. Attach warp threads to the bead loom, stretch them evenly, and start weaving weft threads over and under the warp threads, following the chosen pattern.
What is a bead loom?
A bead loom is a tool used for bead weaving. It consists of strings, or warp threads, strung across a loom, with the weft threads woven over and under the warp threads to create intricate patterns and designs.
What materials do I need for loom bead patterns?
To create loom bead patterns, you will need bead loom patterns (which can be downloaded for free), a bead loom, a beading needle, thread, glue, slider clasps, jump rings, lobster clasps, and a variety of seed beads in different colors and sizes.
How do I set up the bead loom?
To set up the bead loom, attach the warp threads to the loom using a double knot or loop knot. Stretch the warp threads across the loom, keeping them tight and evenly spaced.
How do I weave the beads on the loom?
Thread the beading needle with thread and start weaving beads onto the loom, following the chosen pattern. Bring the needle under the warp threads and up through the spaces between them, securing the beads in place.
How do I tie off and finish the bead loom pattern?
To tie off the threads, weave the excess back and forth between the previous rows until it feels secure. Bring the needle back up between one of the rows and snip off the excess thread. Apply glue to the knots for added security, and then carefully cut off any excess thread.
Can I customize my loom bead patterns?
Yes, you can customize your loom bead patterns by experimenting with different color combinations, bead sizes, and patterns. You can also incorporate alternative materials such as leather or suede for added texture and visual interest.
What are some tips and tricks for loom beading?
Keep your threads tight and secure on the loom, use a beading needle that is long enough, and be patient and take your time when threading the needle and weaving the beads. Practice makes perfect!
Are there other bead loom techniques to explore?
Yes, besides loom bead patterns, you can explore off-loom bead weaving techniques such as peyote stitch, brick stitch, and herringbone stitch, which offer endless possibilities for creating unique jewelry pieces.
Where can I find resources and inspiration for loom bead patterns?
You can find free bead loom patterns and project tutorials online. There are also instructional videos available to guide you through the bead loom process. Additionally, you can find various bead looming supplies and kits for purchase to help you get started.
How can I learn more about loom bead patterns?
By following this DIY guide and experimenting with different bead loom patterns, techniques, and materials, you will be able to expand your knowledge and skills in loom beading.
